Generate Your First PDF with Make
What You Will Build
This guide introduces a simple pattern that you can reuse and extend.
We will build a scenario with three components:
- Data source — Google Sheets
- Eledo — PDF generation
- Data sink — Google Drive (stores generated PDFs)
Once you understand this pattern, you can adapt it to other data sources and storage systems supported by Make.
Step 1 — Create a Simple Template in Eledo
For this guide, we will use a simple template with only a few dynamic fields.
Instead of creating a template from scratch, we recommend selecting one from the public template library and modifying it. This allows you to get started quickly.
If you prefer to create a template manually, refer to:
Template Editor
Instructions
- Log into your Eledo account.
- Open My Templates.
- Click From Library to access the public template catalog.
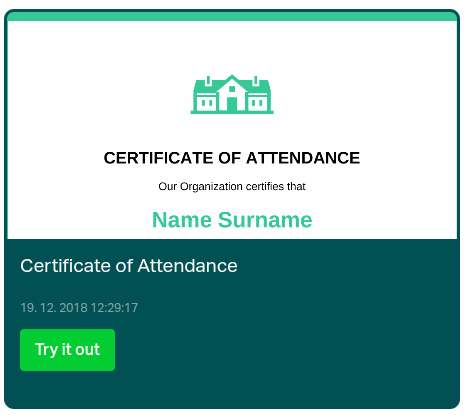
- Select a template and click Try it out.
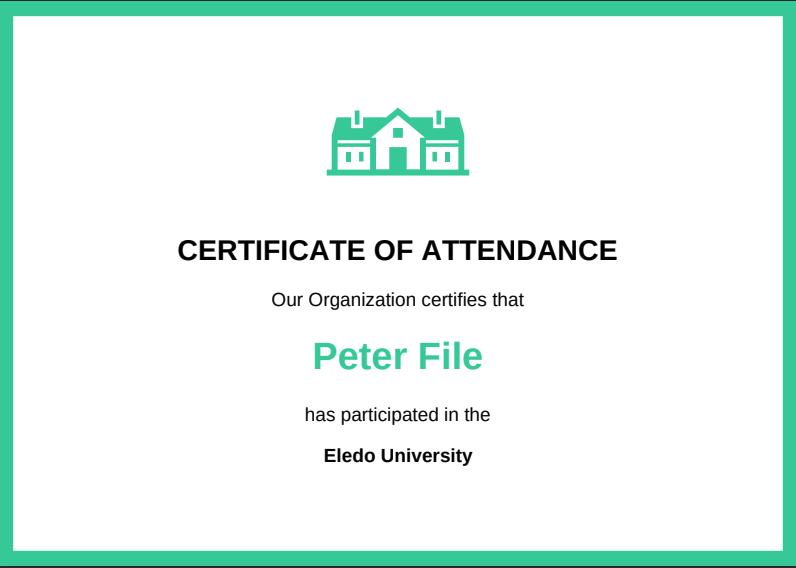
This creates a private copy under your account. - For this guide, select Certificate of Attendance.
You can freely modify your private copy.
Optional — Inspect the Data Structure (Advanced)
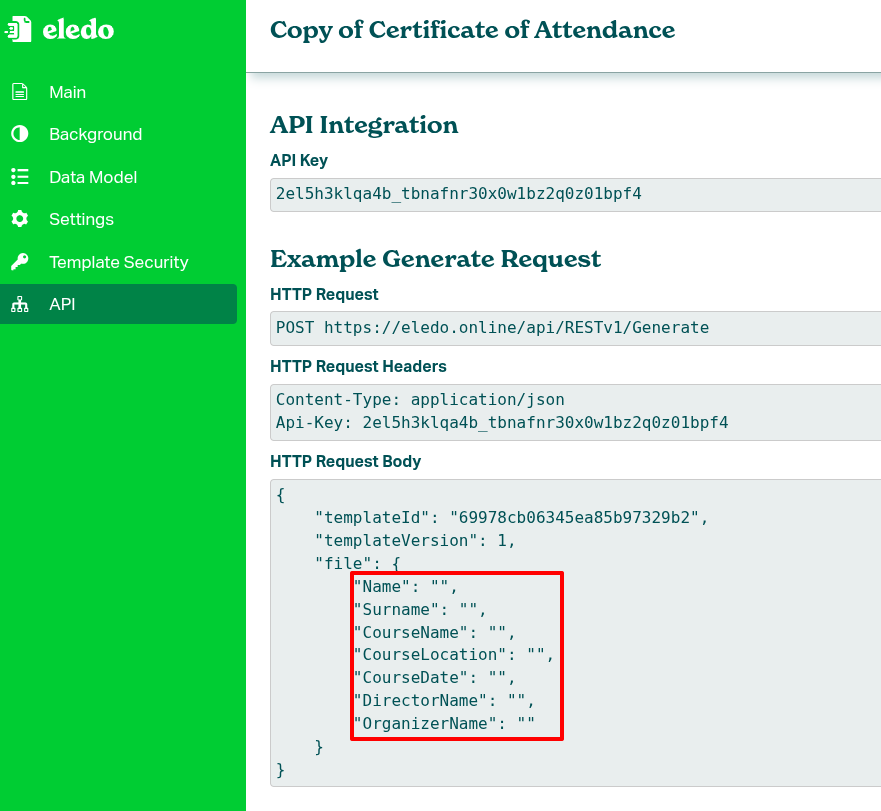
In the left-side menu, open Profile → API to see the full data model.
You can review the payload inside the HTTP Request Body section. This may help you understand how fields are structured before mapping them in Make.
Step 2 — Create a New Scenario
Create a new scenario in Make and add three modules in this order:
- Data source — Google Sheets (Watch New Rows)
- Eledo PDF — Generate PDF
- Data sink — Google Drive (Upload a File)
Configuration of Google Sheets and Google Drive authentication is outside the scope of this guide. Refer to official Make documentation for basic setup.

Step 3 — Configure Google Sheets
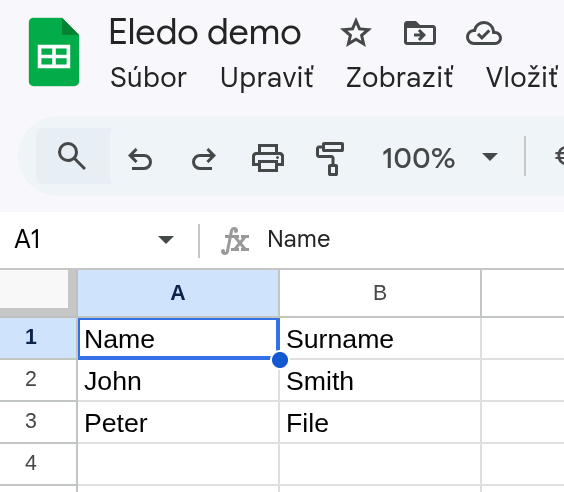
Create a Google Sheet with the following structure:
| Name | Surname |
|---|---|
| John | Smith |
| Peter | File |
Each row represents one student.
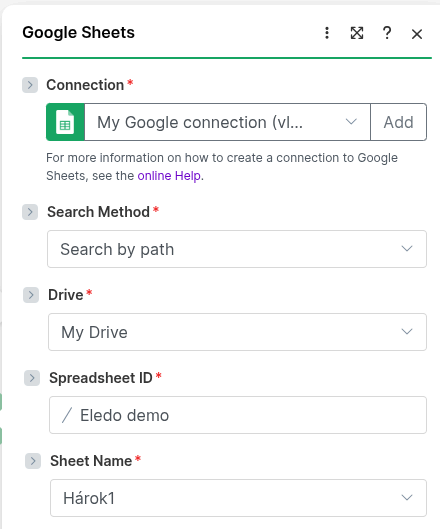
In the Google Sheets module:
- Authenticate your account
- Select the correct spreadsheet
- Select the appropriate worksheet
- Configure the module to watch for new or updated rows
The first row must contain headers. Make uses these headers (Name, Surname) as field names.
Step 4 — Configure Eledo
The Eledo module receives data from Google Sheets and generates a PDF document.
In the Eledo module:
- Select your Connection
- Select your template
Step 5 — Configure Authentication
If this is your first time using Eledo in Make, you need to create a connection.
Follow the Authentication documentation to configure your API key.
Step 6 — Select a Template
In the Eledo module:
- Select your copied template (for example:
Copy of Certificate of Attendance)
Only private templates are available in Make. Public templates must first be copied into your account.
Eledo always uses the latest version of the selected template.
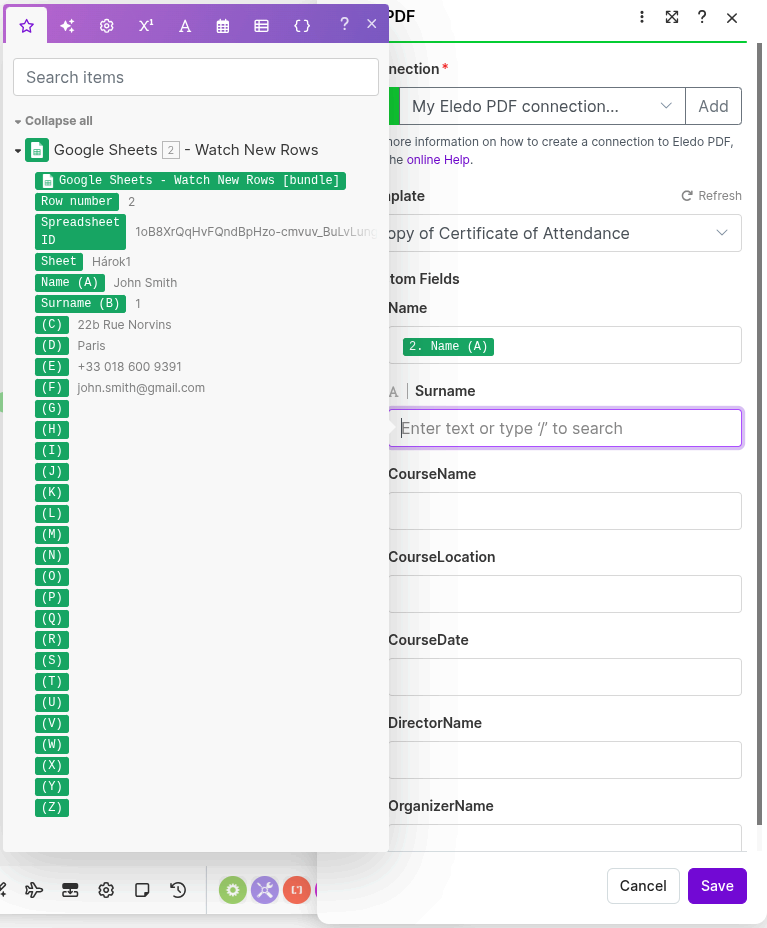
Step 7 — Bind Data
After selecting the template, Make displays a dynamic form matching the template structure.
Why Our Sheet Has Only Two Columns
It is not necessary to populate every field.
Many template fields are static (academy name, course title, instructor name, etc.). Only certain fields change per row — in our case:
- Name
- Surname
Configure Form Fields
- Fill in static fields that will not change (for example,
Organizer name) - For dynamic fields (
Name,Surname):- click into the field
- open the mapping panel
- insert values from Google Sheets (double-click or drag and drop)
Step 8 — Run the Scenario
Click Run once to execute the scenario.
If everything is configured correctly, Make will:
- read a row from Google Sheets
- pass the data to Eledo
- generate a PDF document
You can inspect the output directly in the scenario execution view.
Step 9 — Configure Google Drive
Google Drive stores the generated PDFs.
Create a folder in Google Drive where documents will be uploaded.
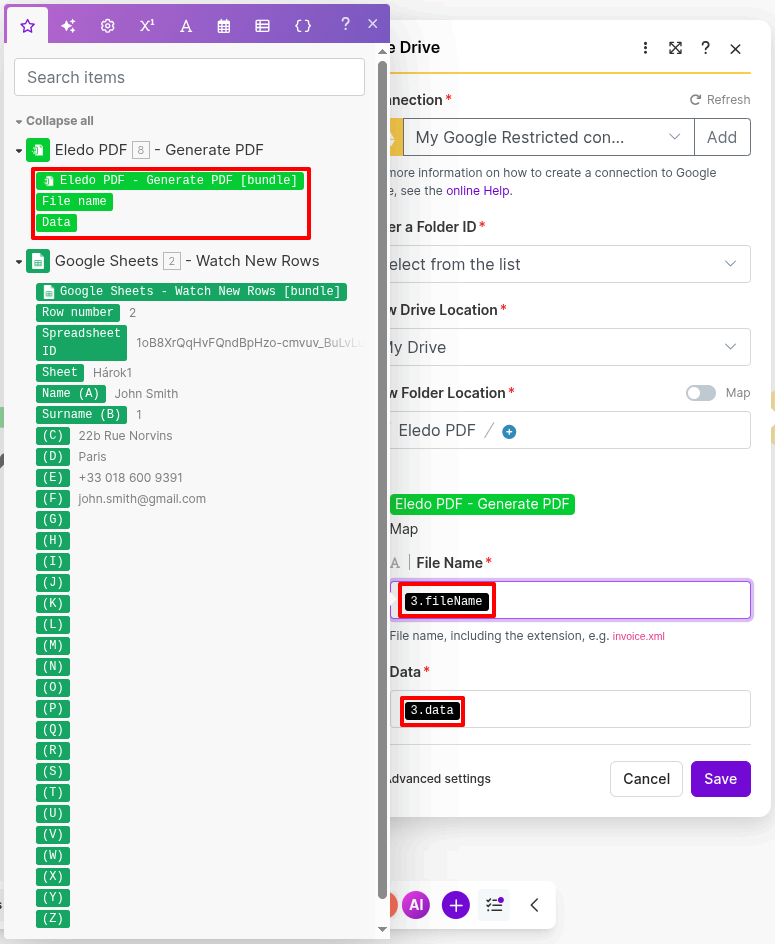
In the Google Drive module:
- Choose the destination drive and folder
- Map the Data field to the file content from Eledo
- Map the File Name field to the filename from Eledo
The Eledo module provides both the file content and filename separately.
Optionally, you can:
- adjust the filename
- change the destination folder
What’s Next?
You now have a working automation:
Google Sheets → Eledo → Google Drive
From here, you can:
- Add more rows to your sheet and observe automatic generation
- Replace Google Sheets with another data source
- Replace Google Drive with email, CRM, or cloud storage
The pattern remains the same.