Generate Your First PDF with n8n
What You Will Build
This guide does not attempt to cover every possible template or workflow combination. Instead, it introduces a simple pattern that you can reuse and extend.
We will build a workflow with three components:
- Data source — Google Sheets
- Eledo — PDF generation
- Data sink — Google Drive (stores generated PDFs)
Once you understand this pattern, you can adapt it to other data sources and storage systems supported by n8n.
Step 1 — Create a Simple Template in Eledo
For this guide, we will use a simple template with only a few dynamic fields.
Instead of creating a template from scratch, we recommend selecting one from the public template library and modifying it. This allows you to get started quickly.
If you prefer to create a template manually, refer to: Template Editor
Instructions
- Log into your Eledo account.
- Open My Templates.
- Click From Library to access the public template catalog.
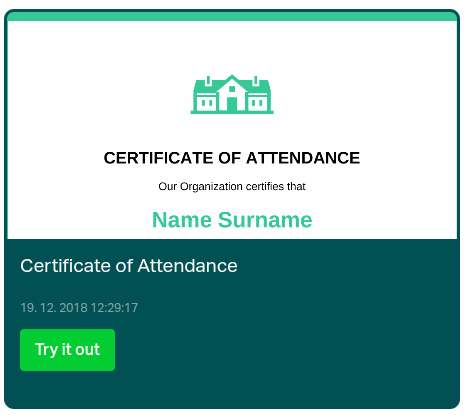
- Select a template and click Try it out. This creates a private copy under your account.
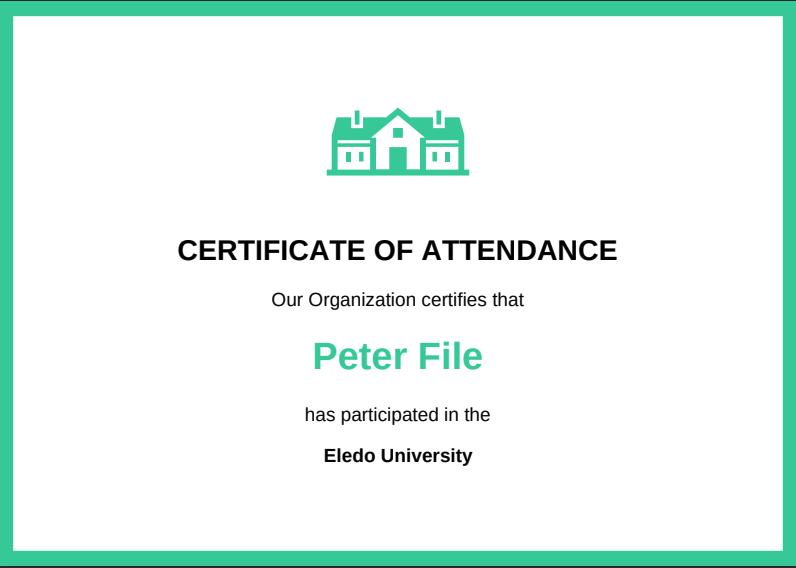
- For this guide, select Certificate of Attendance.
You can freely modify your private copy.
Optional step — Check the full data structure in JSON
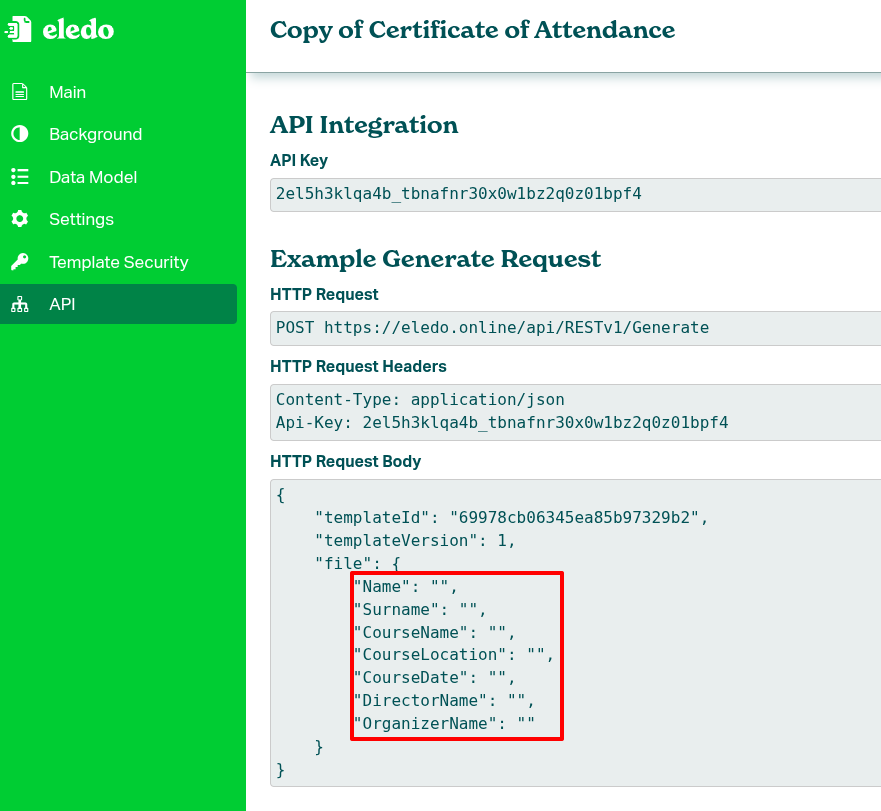
In the left-side drawer menu click on API. You will see the full data model. It might help you later when you map the fields using Guided Fields later. See the payload inside HTTP Request Body.
Step 2 — Create the n8n Workflow
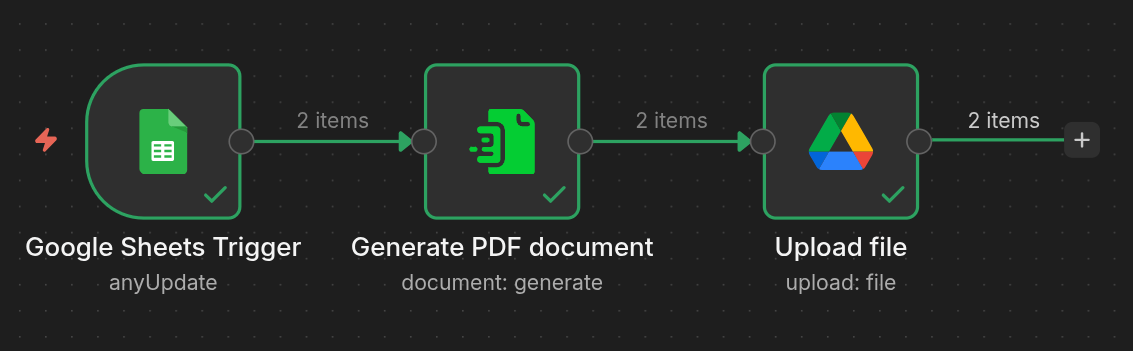
Create a new workflow in n8n and add three nodes:
- Google Sheets (data source)
- Eledo
- Google Drive (storage)
Configuration of Google Sheets and Google Drive nodes is outside the scope of this guide. Follow official n8n documentation for authentication and basic setup.
Google Sheets Configuration
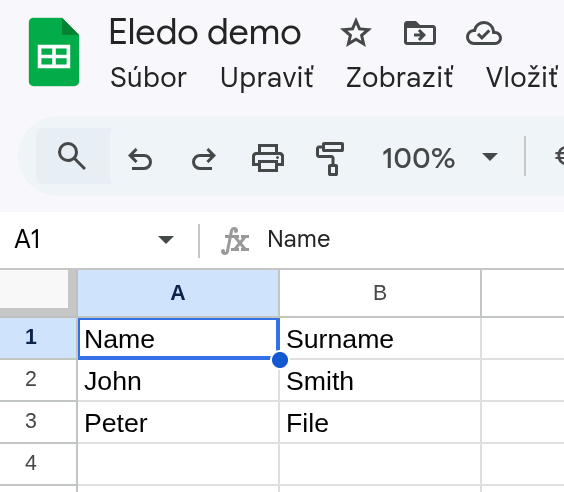
Create a Google Sheet with the following structure:
| Name | Surname |
|---|---|
| John | Smith |
| Peter | File |
Each row represents one student.
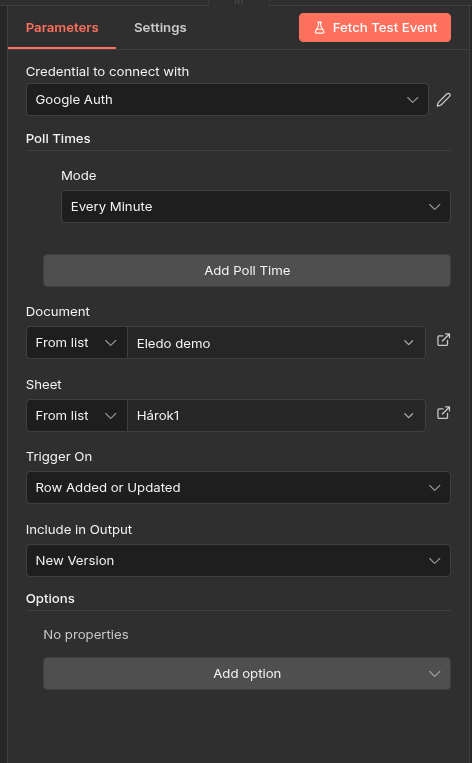
Set up a trigger so that the workflow runs when a row is added or updated.
The first row must contain headers. n8n automatically uses these headers (Name, Surname) as property names.
In the Google Sheets node:
- Authenticate
- Select the correct document
- Select the appropriate sheet
In this example, we selected a document named Eledo demo.
Eledo Node
Add the Eledo node and connect it between Google Sheets and Google Drive.
We will configure it in the next steps.
Google Drive Configuration
Create a folder in Google Drive where generated PDFs will be stored.
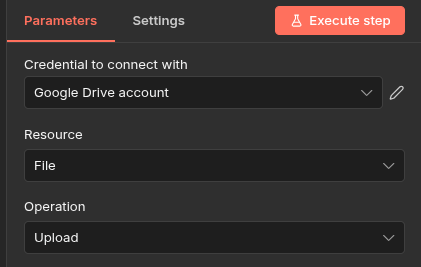
In the Google Drive node:
- Authenticate
- Select Upload file action
- Choose the target folder
Step 3 — Configure Authentication
Open the Eledo node configuration.
Before it can be used, credentials must be created.
Follow the Authentication documentation to configure your API key.
Step 4 — Select a Template
In the Eledo node:
- Set Template Scope to
Private - Select your copied template (for example:
Copy of Certificate of Attendance (v1))
About Template Scope
- Private scope contains your templates and copies of public templates.
- Public scope allows direct use of public templates.
By default, Eledo uses the latest version of the selected template. You may optionally lock a specific version.
Template names and version numbers may differ slightly. This is expected.
Step 5 — Bind Data Using Guided Fields
Guided Fields are the recommended input method for most templates. They support flat structures (text, number, date fields).
More complex templates require JSON mode.
Why Our Sheet Has Only Two Columns
The certificate template contains more fields, but most are static (academy name, course title, instructor name, etc.).
Only the student’s Name and Surname change per row.
In production scenarios, you may also map a dynamic date using n8n expressions.
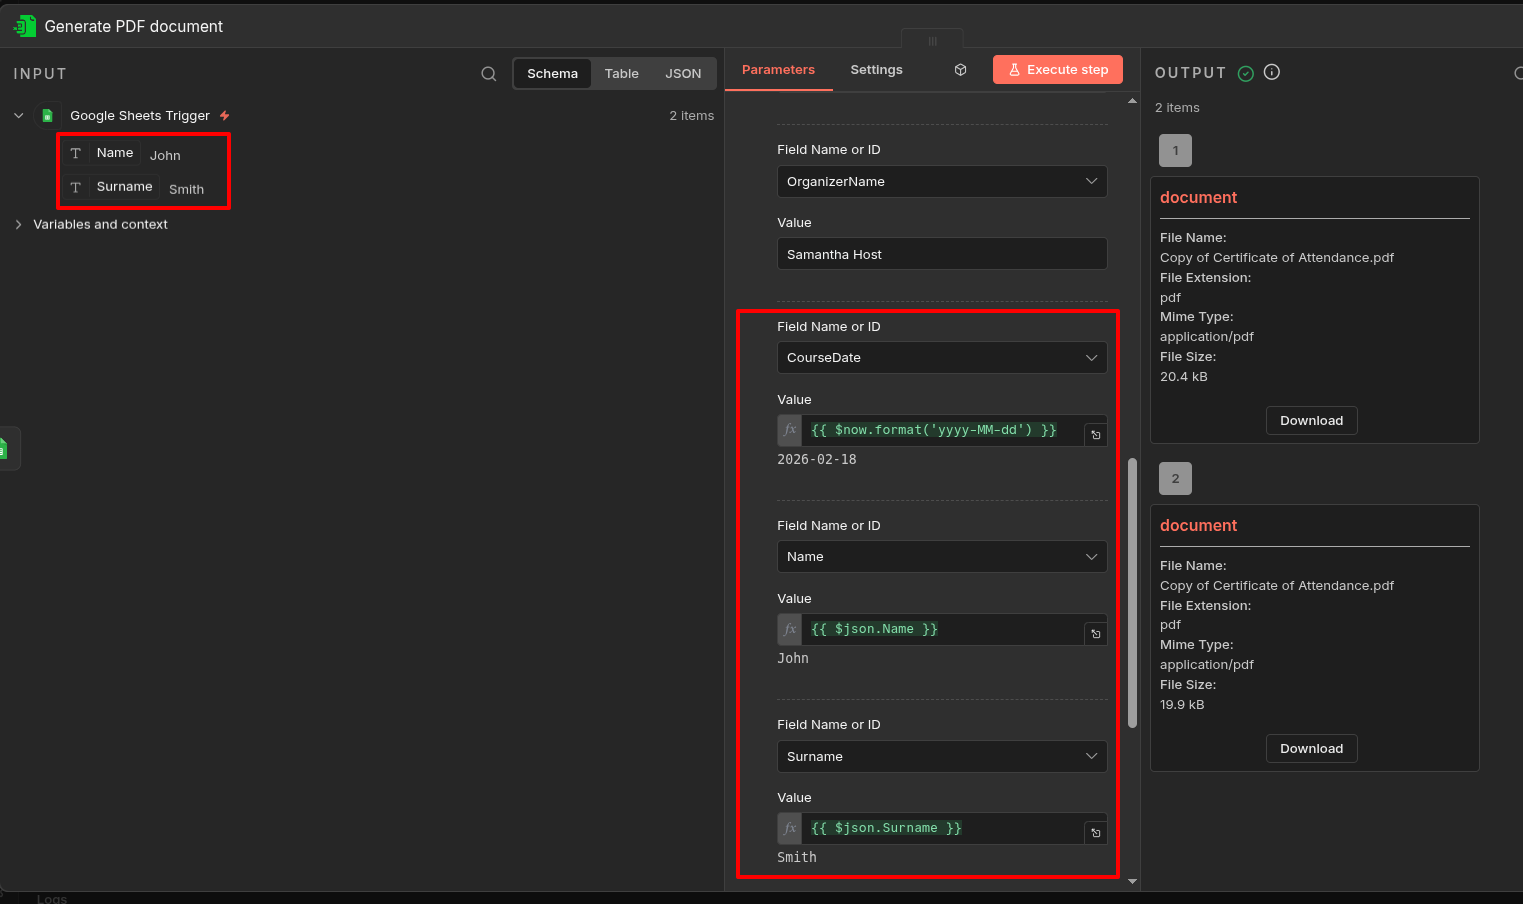
Configure Guided Fields
- Under Text / Number Fields, add all relevant template fields.
- For static fields, enter fixed values.
- For dynamic fields (
Name,Surname, optionallyDate), switch to Expression mode. - Bind values coming from the Google Sheets node.
Refer to the screenshot below for a concrete example.
Step 6 — Test the Workflow
Click Execute step in the Eledo node.
If everything is configured correctly, you should see a generated PDF for each row in your sheet.
Download and verify the results.
Step 7 — Upload PDFs to Google Drive
Now configure the Google Drive node to store the generated files.
Prerequisites:
- Authentication configured
- Target folder selected
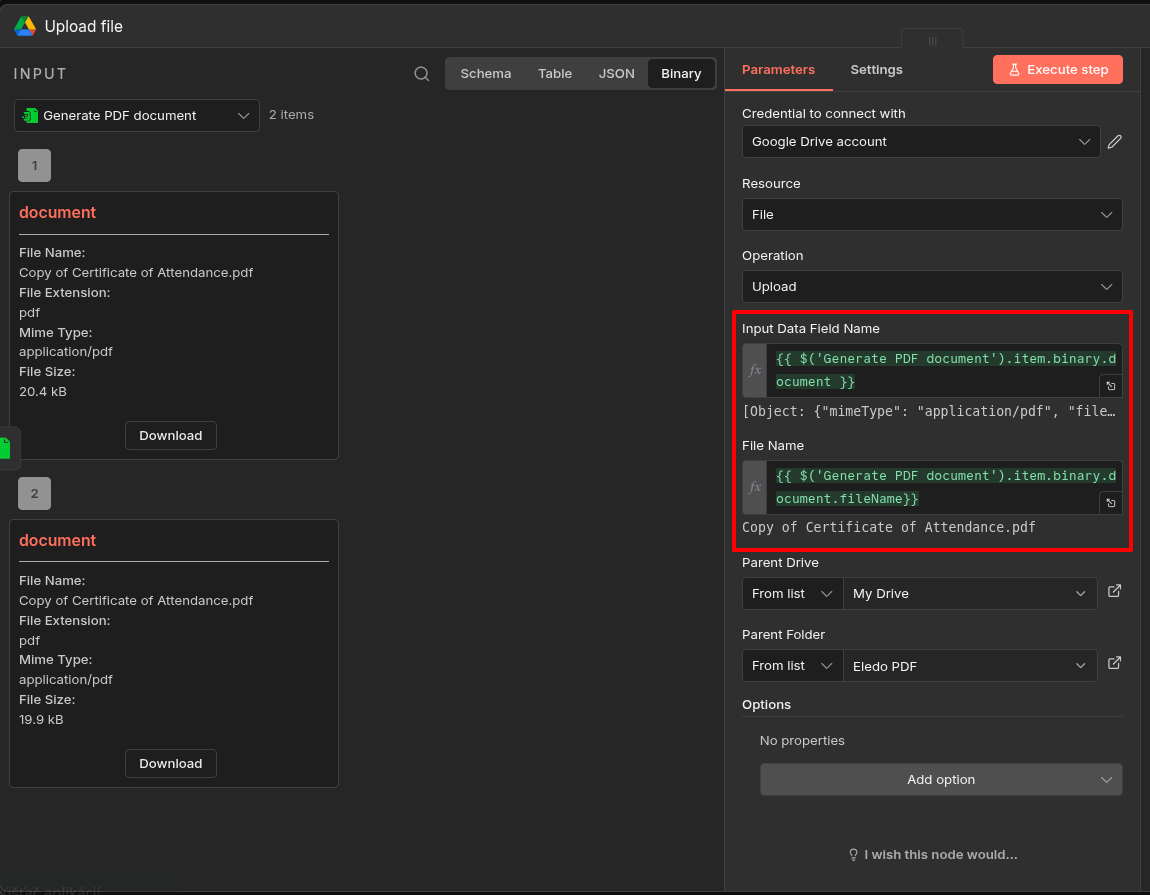
Inside the Google Drive node:
-
Set Operation to
Upload -
Switch the required fields to Expression mode
-
Map:
- Input Data Field Name →
{{ $('Generate PDF document').item.binary.document }} - File Name →
{{ $('Generate PDF document').item.binary.document.fileName }}(optional)
- Input Data Field Name →
This tells Google Drive to upload the PDF file generated by the Eledo node.
See the screenshot below for exact expression examples.
What’s Next?
You now have a working automation:
Google Sheets → Eledo → Google Drive
From here, you can:
- Add more rows to your sheet and observe automatic generation
- Experiment with dynamic expressions
- Use JSON mode for complex templates
- Replace Google Sheets or Google Drive with other integrations
The pattern remains the same.